Have you ever thought about learning programming with cardboard? It might sound strange at first, but it’s true. Cardboard—the same stuff from old delivery boxes or cereal packs—can help you understand Code.
First of all, it’s simple. You only need basic tools, a bit of creativity, and clear steps to get started. Then, you’re ready to explore programming in a fun and easy way. This method works well for both kids and adults.
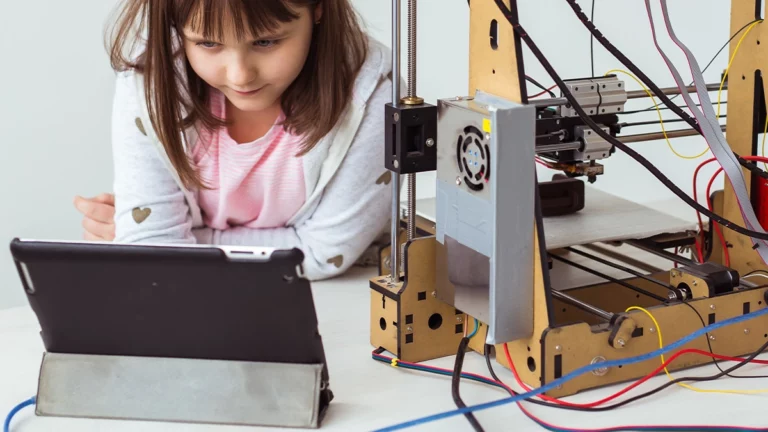
Next, you’ll discover how Cardboard DIY and coding come together. This hands-on method helps you learn by doing. As a result, you stay engaged while building real projects.
Whether you’re a curious student, a parent looking for imaginative play, or a hobbyist who enjoys creating, these 10 projects are perfect. They mix simple materials with fundamental programming skills. Therefore, you can build robots, sensors, and fun tools—all from cardboard.
So, let’s dive in. Together, we’ll see how this creative approach can turn anyone into a confident coder.
Explore the detailed explanation of “10 Cardboard Code Learn Programming the Fun Way”
What Is Cardboard Coding?

To begin, let’s look at what cardboard coding means. It is a fun mix of hands-on crafting and simple programming. First, you build something using cardboard. Then, you bring it to life using basic Code.
For example, you might make a lever, a claw, or a dancing box. After that, you add a microcontroller and some sensors. Then, using platforms like Scratch, Make Code, or Arduino IDE, you write code to control the movements.
As a result, your project starts to move. Maybe it grabs candy. Maybe it spins. Or if you try something bigger, it brings you coffee!
At the same time, this method makes learning programming easier. Instead of just typing code on a screen, you see how it works in real life. So, you understand faster.
Even when things break or fail, it helps you learn more. You fix, try again, and improve. Ultimately, this process makes learning programming active, fun, and full of surprises.
Real-Life Cardboard DIY + Code Creations
People worldwide have already made some genius (and hilarious) creations using this idea. Here are a few to inspire you:
- First, a coin-sorting robot made entirely from cereal boxes.
- Next, a door alarm that sounds like a chicken.
- Also, a cardboard piano that plays music using touch sensors.
- Finally, a vending machine that dispenses snacks using just a few lines of Python.
These projects are not just fun—in fact, they teach real skills. From coding logic to mechanical design, they make learning effortless and exciting. Moreover, they engage in creativity and problem-solving simultaneously.
10 Fun Cardboard Code Projects to Try Today
If you’re ready to dive into hands-on learning, this list is a great place to start. Each project blends cardboard crafting with basic Programming skills. They are fun, easy to build, and suitable for all ages. Let’s explore ten exciting ideas that combine creativity with code.
1. Cardboard Candy Claw
First, build a simple robotic arm using cardboard pieces and a servo motor. Then, connect it to a button using a microcontroller like Arduino or Micro:bit. When you press the button, the claw grabs a piece of candy. This teaches how inputs can control outputs.
2. Dancing Music Box
Next, create a box that moves when it hears sound. Add a sound sensor inside the box. When music plays, the box wiggles or spins. With just a few lines of Code, you can control the reaction. It’s a fun way to learn about sensors.
3. Light-Triggered Animal
After that, try making a cardboard owl. Attach wings and a small motor. Then, use a light sensor and program the owl to flap its wings when lights turn on. It helps you understand how code reacts to the environment.
4. Motion-Sensor Door Greeter
Also, you can build a puppet or character that waves hello. Use a motion sensor to detect people walking by. Then, write code that moves the puppet’s arm. It’s a great intro to motion detection.
5. Snack Vending Machine
Why not create your snack dispenser? Design a cardboard box with a hidden servo motor. When you press a button, the motor rotates and drops candy. This teaches you how to use buttons and motors together.
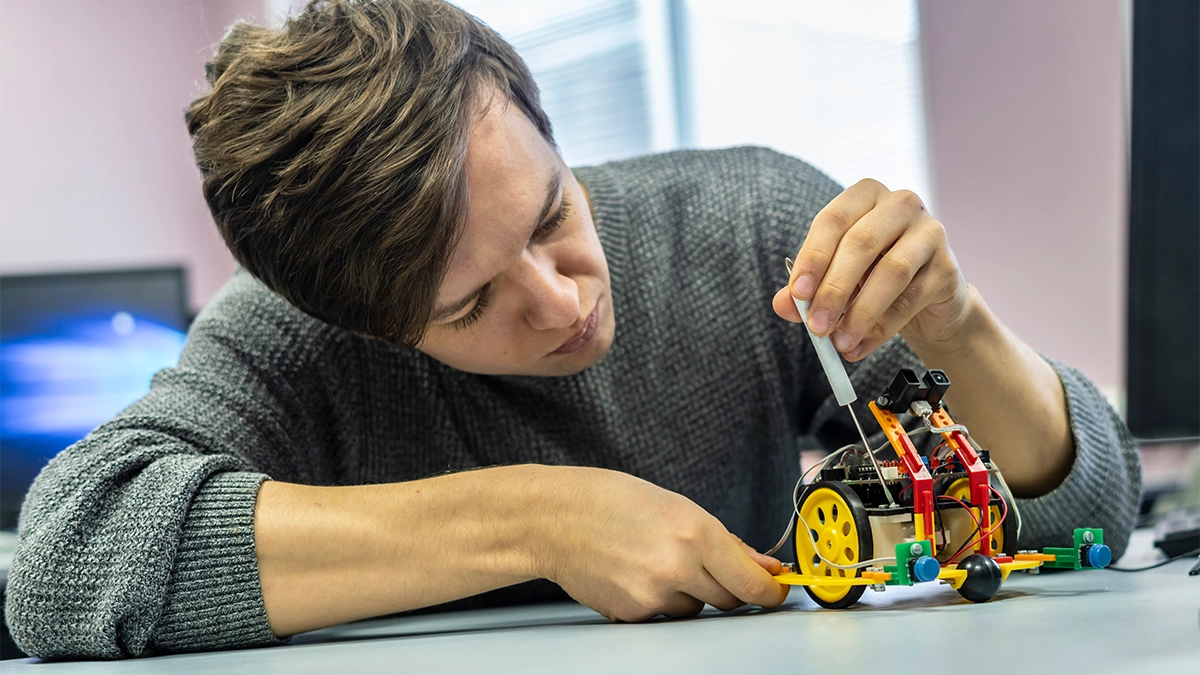
6. Obstacle-Avoiding Robot
Now, make a mini robot from cardboard with wheels and sensors. Program it to stop or turn when it senses a wall. You’ll learn how robots use Code to move safely.
7. Cardboard Piano
Then, build piano keys from cardboard. Place touch sensors under each key. Each sensor plays a different note using code. It’s perfect for learning about sound and touch controls.
8. Flipping Sign Board
Next, create a small sign with two sides. Use a servo motor to flip between “Welcome” and “Go Away.” Code it to flip when you press a button or detect motion.
9. Maze Solver Bot
You can also build a robot to solve a maze made from cardboard walls. Program it to turn at corners and avoid dead ends. This teaches condition-based coding and logical thinking.
10. Cardboard Pet Feeder
Finally, design a pet feeder with a small tray and a servo motor. Use a timer in your code to release treats at set times. It’s a fun way to learn about automation.
Also read:
- Embark on the Exciting World of janitor ai
- How outlier ai Are Powering Future of Generative AI
- The Invisible Ink: Unmasking the World of undetectable ai
- Elevate Your Business with soul ai and RLHF Innovation
- Transform Your Screen with Stunning anime wallpaper
Why Cardboard DIY OR Coding Works So Well
- Hands-on learning: First, cardboard coding is physical. As you build with your hands, your brain learns logic. This mix of action and thinking makes concepts easier to understand.
- Instant feedback: Next, you see results right away. When your Code works, something moves. Because of this, you stay interested and excited to try more.
- Fun and engaging: It’s also playful. Watching a cardboard robot fall or spin makes you laugh, and this fun keeps you returning.
- Better memory: Moreover, when you see what your code does, like a box jumping, you remember it. That’s because you link actions with results.
- Learning through failure: Finally, mistakes help you learn. If something breaks, you fix it. And in the process, you understand more. So, every failure becomes a new lesson.
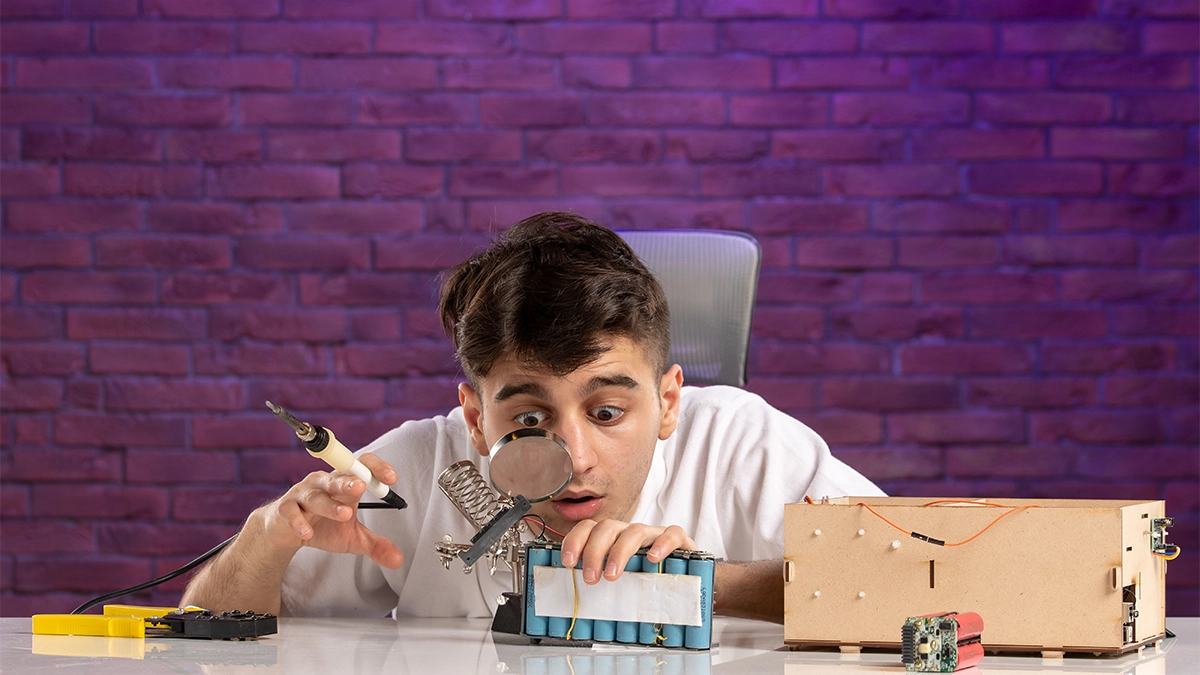
Simple Tech Behind It
First, let’s talk about the tech side. You don’t need expensive gadgets to get started. In fact, many materials might already be in your home. Here’s what you’ll need:
- A basic microcontroller like Arduino or BBC micro: bit.
- Some simple sensors, such as motion, light, or touch sensors.
- Wires, battery packs, and a USB cable.
- Lots and lots of cardboard.
Next, the Programming is very beginner-friendly. For example, drag-and-drop platforms like Scratch or MakeCode make coding easy. Therefore, even young kids, around 7 years old, can start coding. For instance, you might write: “If button A is pressed, move the cardboard arm.” Finally, congratulations! You just created a cardboard high-five machine. Following these steps, you can bring your cardboard projects to life with simple tech and code.
Ready to Start? Here’s How
By now, you might be asking, “How do I start?” Well, it’s easier than you think. First, let’s break it down step-by-step.
Step 1: Gather Your Supplies
First, collect scissors, tape, cardboard, and a low-cost microcontroller. If you have googly eyes, add them for extra fun! Having all these ready makes the process smooth.
Step 2: Choose a Simple Project
Next, pick a small project, such as a waving hand or a sensor that plays sound. Keep it simple and playful so you won’t feel overwhelmed.
Step 3: Start Programming
Then, use block-based programming tools. You don’t have to write complex Code. Instead, just drag and drop commands like: “When motion is detected, spin the cardboard wheel.” Just like that, you’ve programmed a dancing fan! It’s easy and rewarding.
Step 4: Test and Improve
After that, test your creation. It might not work the first time—and that’s okay! Every mistake helps you learn. So, try again, fix problems, laugh at the fun moments, and keep improving. With each try, you’ll get better at programming. Plus, you’ll enjoy every step of the way.
Who Should Try Cardboard DIY Or Coding?
Is this just for kids? Not at all. Parents can easily bond with their kids over creative weekend builds. Likewise, teachers can use it to make STEM exciting in the classroom. Moreover, hobbyists and tinkerers enjoy building silly (but smart) gadgets. Even bored adults, who want to do something productive, will love it. Best of all, you don’t need a computer science degree. Instead, you just need curiosity—and maybe some duct tape.
Why This Method Matters
Let’s be honest—Code powers our world. From phones to cars, programming is all around us. However, learning it doesn’t have to be boring or complicated.
By combining cardboard with code, you unlock a way to learn that is both visual and playful. Moreover, it is very effective. Not only are you learning programming, but you are also learning how to think like a programmer. This skill, importantly, lasts a lifetime.
Even better, this method makes programming easier to start. Therefore, it welcomes kids, parents, and teachers alike. It invites everyone into coding in the most friendly and straightforward way possible.
Final Thoughts: Turn Trash into Tech
In conclusion, cardboard coding is much more than just a fun DIY activity. It’s a creative and powerful way to Learn Programming. Instead of staring at screens, you build real things with your hands. As a result, coding feels real and easy to understand. Even better, it becomes something you enjoy.
You don’t need any expensive tools. Also, you don’t need to be a coding expert. You only need some cardboard, basic materials, and a little curiosity. Then, with a few lines of Code, your ideas can come to life.
Moreover, this method works for everyone—kids, parents, teachers, and even curious adults. So, why wait? Start small, test your ideas, and learn from mistakes.
To Get More Updates, Click Here